No good way to illustrate this with a picture, sorry. I learned an important thing about my trigger group. It's a double trigger, set trigger style that is adjustable. I thought the screw that protrudes conspicuously between the two triggers was for adjusting the trigger. Well, it is but it's not the only adjustment available.
I was thinking that by pulling on the trigger (not the set trigger) that I was somehow pushing the sear off of whatever the sear catches on in order to make the hammer fall. Not so! As it turns out (after asking some smart people about it) the set trigger has a blade on it and the main trigger trips this blade to flick or smack into the sear lever and THAT is what causes the hammer to fall!
Once I discovered that there was an adjustment to the sprint under the trigger group that regulates how HARD the set trigger blade smacks the sear bar, I had my "Problem" solved and I came away learning something very basic.
Now I can move on to something that uses less brain cells...hopefully.
Saturday, January 2, 2010
Sunday, November 15, 2009
More work on the tang and lock
I had to take the breech plug off again to get the exact fit I was looking for. And after a bit of bending I got the breech plug reinstalled on the barrel and put them both back in position and it looks like I'm ready to move on.
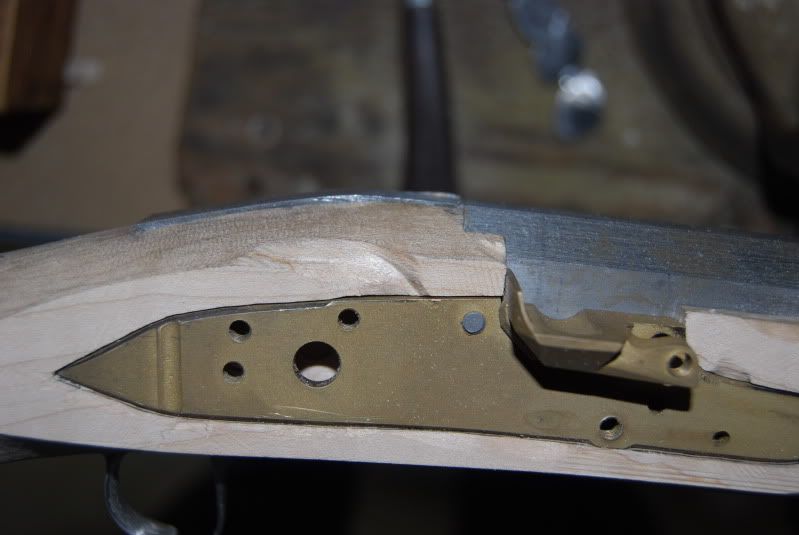
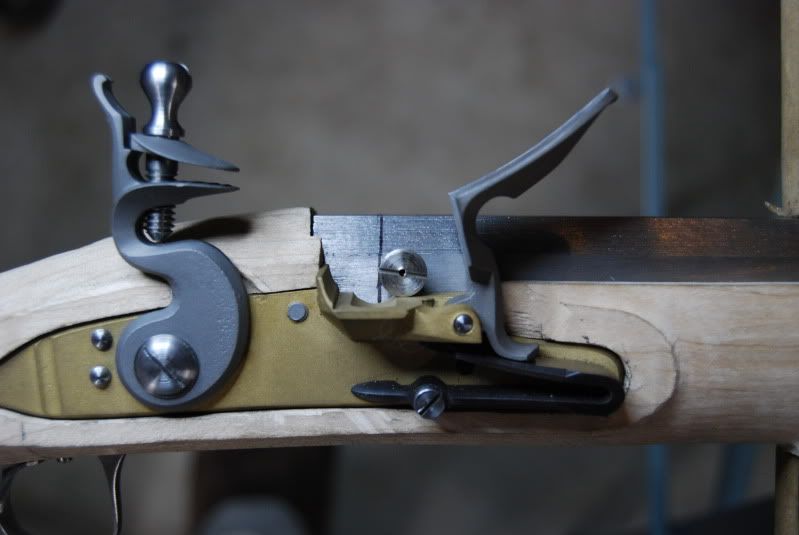
I took apart the Lock and I'm beginning to take wood down around it for it's final fit. I still have to drill and tap the plate screw to the other side but I want to get the trigger assembly placed correctly first.
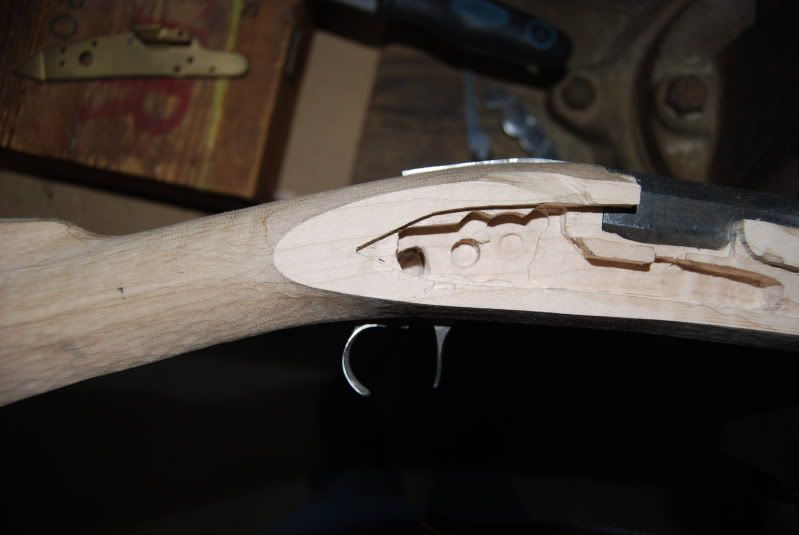
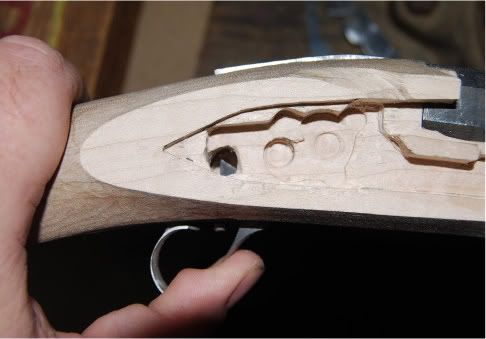
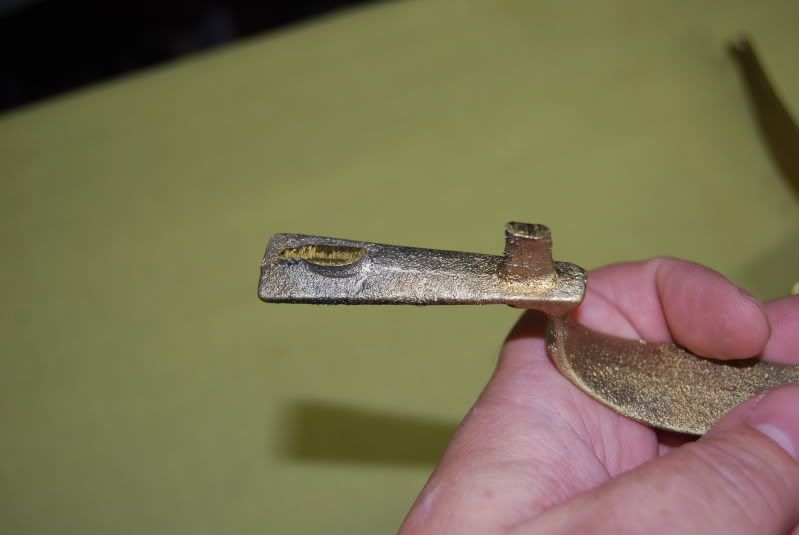
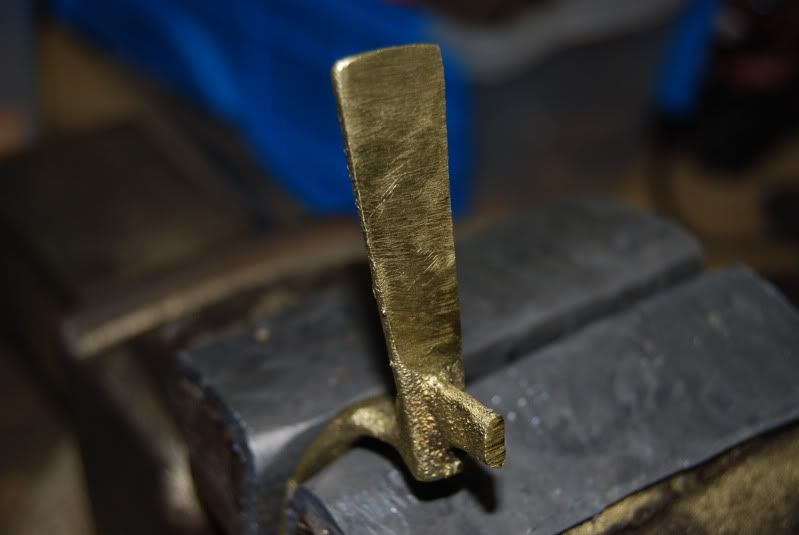
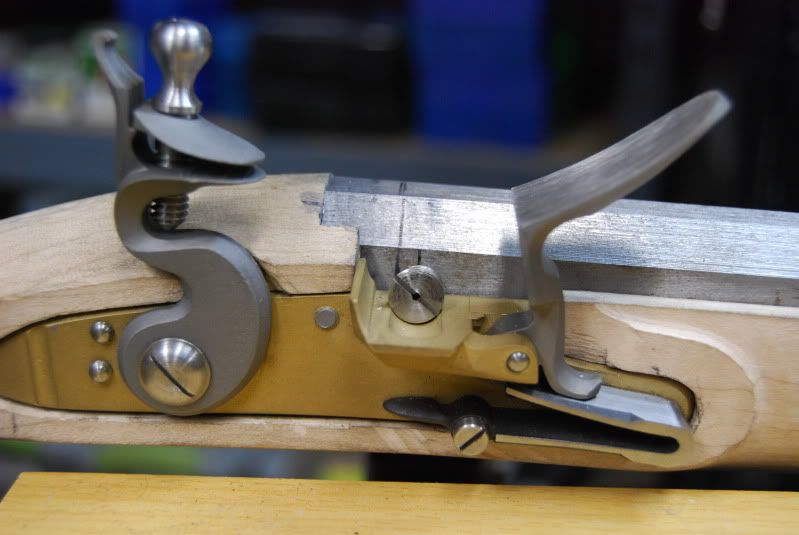
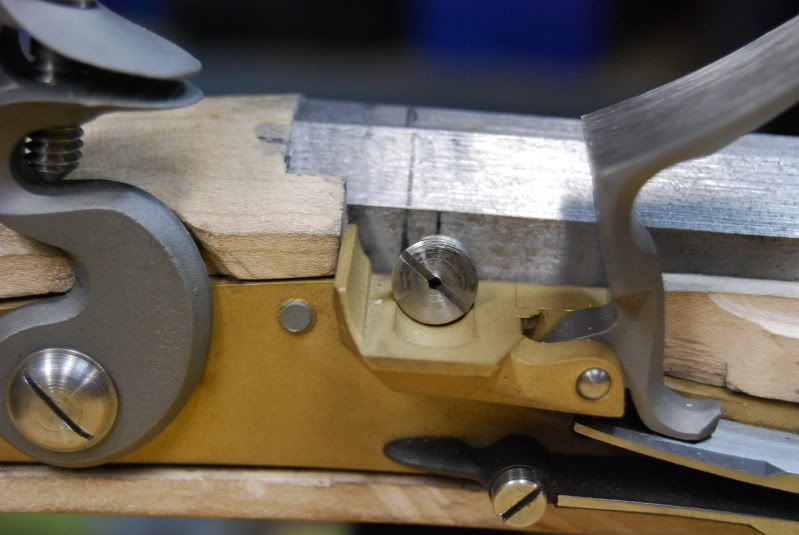
A close up shows the trigger blade in the fire position where it will trip the sear. But things aren't working as expected yet. So I still have some work to do.
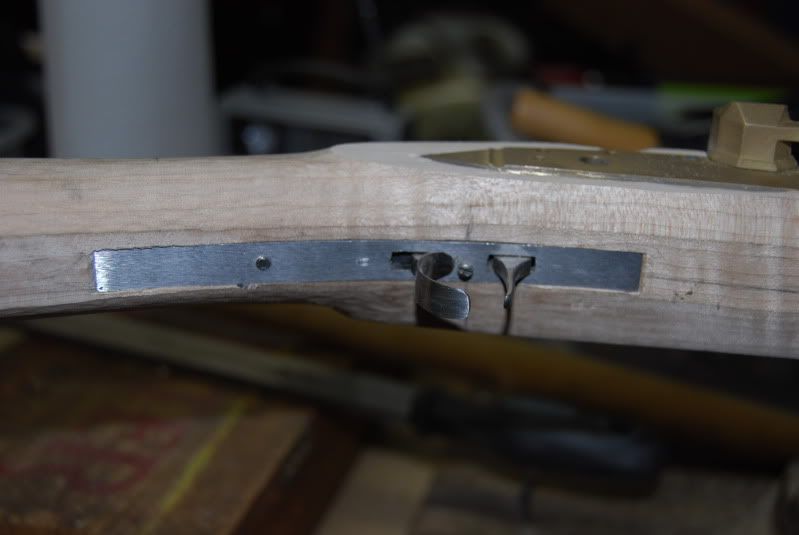
Here's a bottom view of the trigger assembly. I'm not sure if I have to inlet it deeper to adjust the trigger or not. More research is needed.

I took apart the Lock and I'm beginning to take wood down around it for it's final fit. I still have to drill and tap the plate screw to the other side but I want to get the trigger assembly placed correctly first.

A close up shows the trigger blade in the fire position where it will trip the sear. But things aren't working as expected yet. So I still have some work to do.

Here's a bottom view of the trigger assembly. I'm not sure if I have to inlet it deeper to adjust the trigger or not. More research is needed.

Monday, November 9, 2009
Working on inletting the tang
I spent a few hours working on carefully inletting the tang today. I managed to do all the work by hand using my chisels. Nice and relaxing. Until I got so frustrated I had to go work on something else LOL!
Here's a nice view of the cuts:
Here's a view with the barrel/tang assembled setting next to the stock:

And here's a view with the barrel/tang installed in the stock:

It looks like I have some more wood to take out of the barrel channel. I carefully checked and rechecked to be sure the barrel was going all the way down and I still have too much barrel sticking out above the stock. Bummer! I also have some more bending to do to the tang but I want to get the barrel all the way down before I finish that part.
I got a bit frustrated so I worked on getting my brass trigger guard filed down a bit. Compare the two to see how much had to come off:
Before:
After:
A full view:
Lot's of file work. It's actually quite relaxing in a repetitive sort of way...
Here's a nice view of the cuts:

Here's a view with the barrel/tang assembled setting next to the stock:

And here's a view with the barrel/tang installed in the stock:

It looks like I have some more wood to take out of the barrel channel. I carefully checked and rechecked to be sure the barrel was going all the way down and I still have too much barrel sticking out above the stock. Bummer! I also have some more bending to do to the tang but I want to get the barrel all the way down before I finish that part.

I got a bit frustrated so I worked on getting my brass trigger guard filed down a bit. Compare the two to see how much had to come off:
Before:

After:

A full view:

Lot's of file work. It's actually quite relaxing in a repetitive sort of way...
Friday, October 23, 2009
First OOPS!
It was bound to happen sooner than later. Just like when I buy a new car, the first dent is inevitable. But I always feel better after getting it out of the way! LOL.
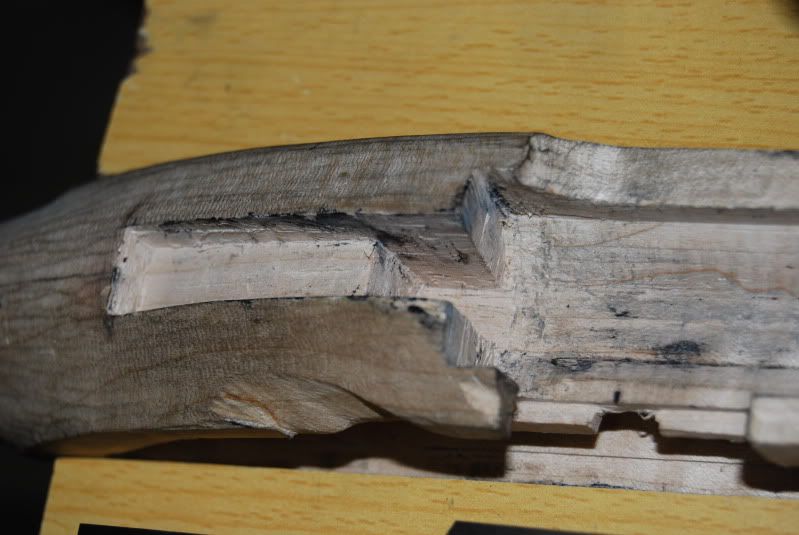
I was starting to inlet the tang on the breech plug after installing it on the barrel. I started chisel working the inlet and just hit the chisel with the hammer just a little bit to hard and off came a chunk of wood right where everyone can see it! Right smack on top of the wrist where the wood will meet the tang. Dang it!
So, out comes the new bottle of Elmer's Wood glue (I was planning ahead) and after cutting the notch deeper, I glued the piece back in place and I'm letting it sit at least overnight but probably let it set for a day or two. I don't expect it to be perfect but I'm doing my best.
This is, after all, my First handbuilt rifle right? LOL.
I'll try to get some more pictures up soon.
Sunday, October 18, 2009
Working on the Lock inletting
After setting back the barrel to almost the perfect position to line up the proposed position of the flash hole and flash hole liner, I turned my attentions to inletting the Lock to it's final location.
I was a bit disappointed that I couldn't seem to get the lock to sit square and systematically remove wood as needed. I found that the hammer and cock assembly was just too much in the way. I did some research and learned that the "proper" way to inlet the lock was to actually take the hammer assembly off (so it is not in the way - DUH!).
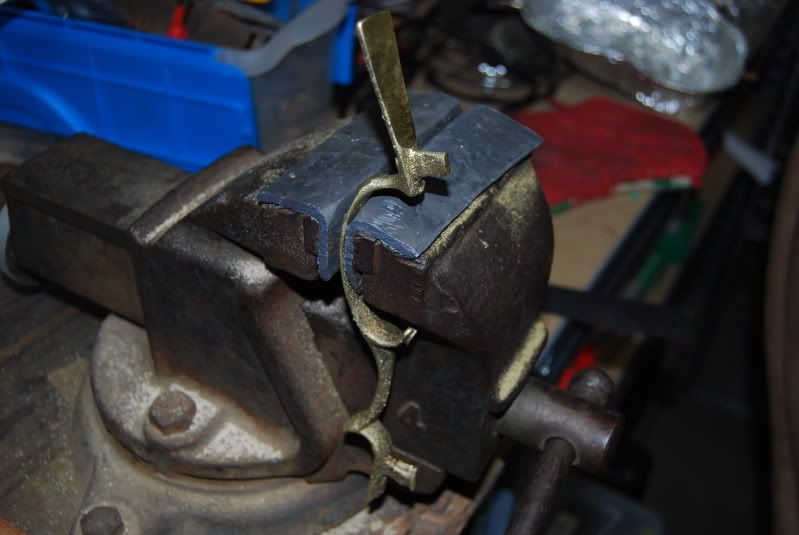
Using a vise grips (instead of the recommended spring vise) I was able to easily remove the spring used for the hammer. I unscrewed the one pivot screw and viola, a nice flat lock plate to work with.
Now, I wanted to try to do this with as few "power tools" as possible but, I just may have to break out the dremel tool to get into the small nooks and crannies. We'll see how it goes.
I was a bit disappointed that I couldn't seem to get the lock to sit square and systematically remove wood as needed. I found that the hammer and cock assembly was just too much in the way. I did some research and learned that the "proper" way to inlet the lock was to actually take the hammer assembly off (so it is not in the way - DUH!).
Using a vise grips (instead of the recommended spring vise) I was able to easily remove the spring used for the hammer. I unscrewed the one pivot screw and viola, a nice flat lock plate to work with.
Now, I wanted to try to do this with as few "power tools" as possible but, I just may have to break out the dremel tool to get into the small nooks and crannies. We'll see how it goes.
Wednesday, October 14, 2009
Inletting the barrel
As mentioned earlier, I ordered the stock with the inletting already done for the barrel, trigger and lock. So most of the inletting was already done for me.
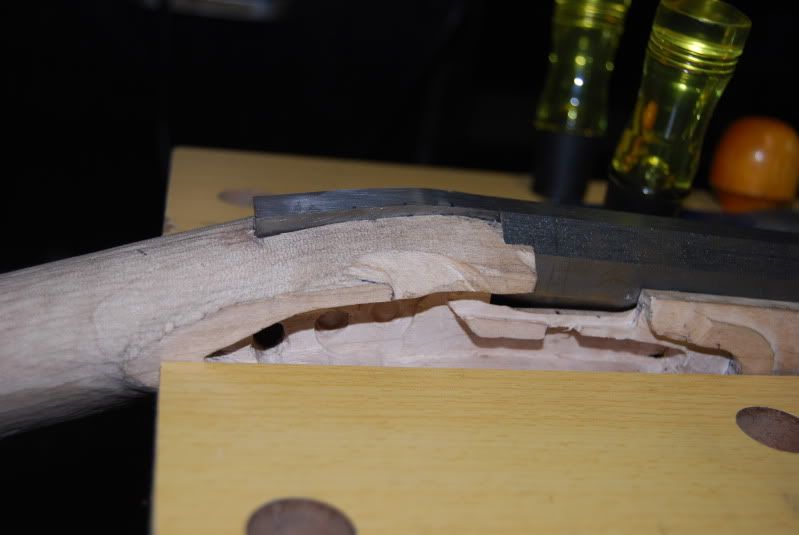
Here is the lock and barrel in place with me holding the breech plug approximately where it's going to end up in the stock. I've marked a line where the breech face will be after the breech plug is installed so I know where the flash hole liner will need to be.

Here is the same view with he flash hole liner laying on the barrel in the location it would need to be installed in order to miss the breech face (marked with the black line)
It's obvious, the barrel needs to be moved back so the flash hole liner is centered with the flash pan.
After a lot of carving and careful measuring and some filing and so on, I was able to get the barrel to inset further back by about 1/8". As you can see now, the mark for the centerline of the flash hole liner is now center with the flash pan. I'll take off just a little bit more before installing the flash hole liner but I'm going to leave that little bit for later (it's easier to take more off than put some back on...)
Here is the lock and barrel in place with me holding the breech plug approximately where it's going to end up in the stock. I've marked a line where the breech face will be after the breech plug is installed so I know where the flash hole liner will need to be.
Here is the same view with he flash hole liner laying on the barrel in the location it would need to be installed in order to miss the breech face (marked with the black line)
It's obvious, the barrel needs to be moved back so the flash hole liner is centered with the flash pan.
After a lot of carving and careful measuring and some filing and so on, I was able to get the barrel to inset further back by about 1/8". As you can see now, the mark for the centerline of the flash hole liner is now center with the flash pan. I'll take off just a little bit more before installing the flash hole liner but I'm going to leave that little bit for later (it's easier to take more off than put some back on...)
Parts - Brass and "Furniture"
Here is the complete parts bag emptied and posed for the camera. It includes all the screws, insets, ram rod pipes and patchbox parts and so on.
I saw this and started digging around for the instructions quick! But there are none, this is a PARTS kit, not a DROP-IN KIT!! (what have I gotten myself into?)
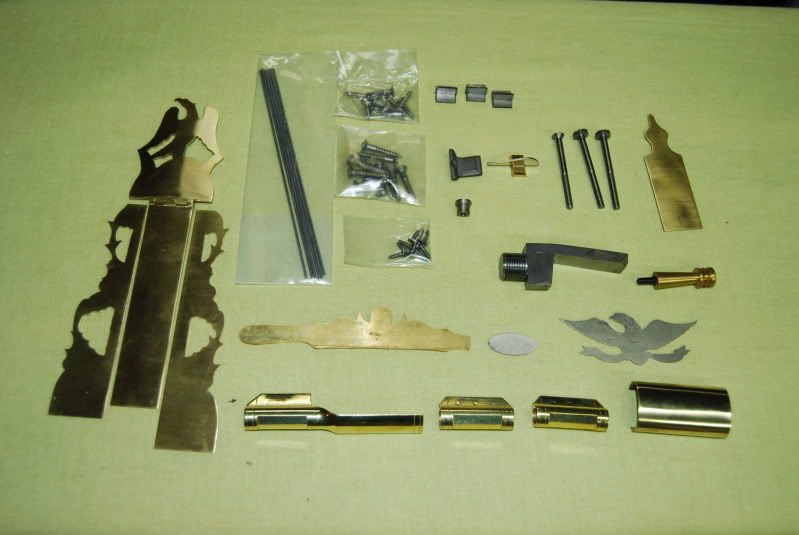
This is the very nice Brass Patch Box comprised of three parts. This will be installed on the right hand side of the buttstock and will enclose a recessed box known as a patchbox for storing little bits and pieces needed in the field for reloading or repairs.
It is just a silhuette and looks nice as is, but really should have engraving done to it to make it perfect.

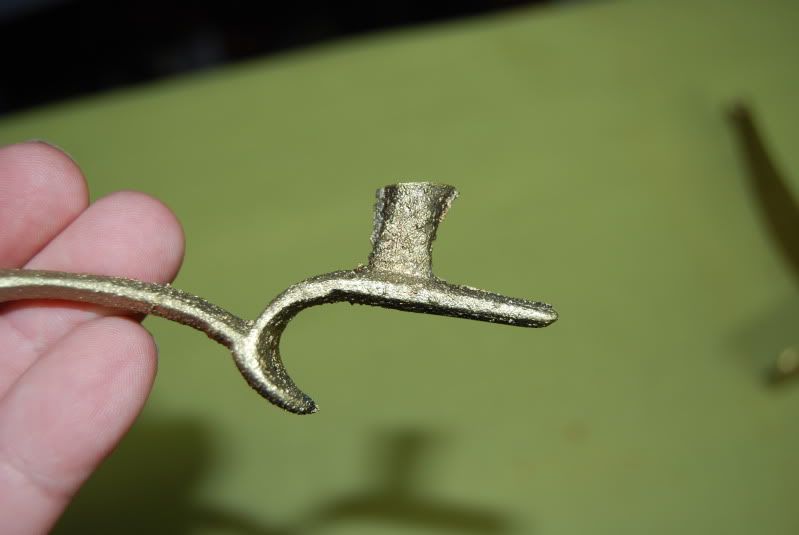
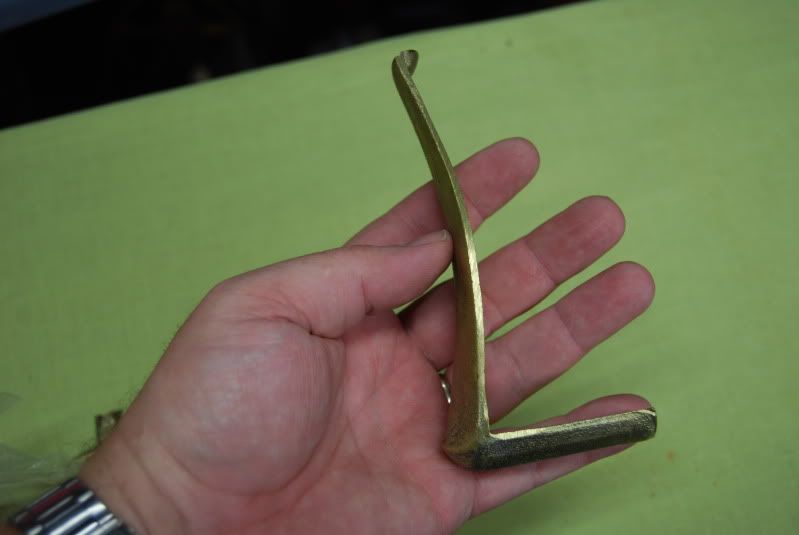
The Trigger Guard is Brass and is as cast, meaning it is ROUGH and nowhere near ready to be installed
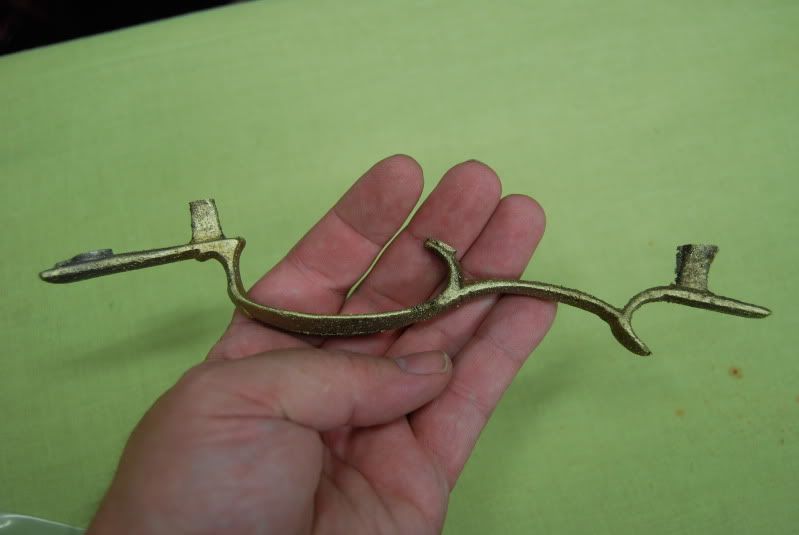
A close look at trigger guard shows a lot of work needs to be done yet.
The Buttplate is solid brass and I will definitely be doing a lot of filing and sanding on this piece.
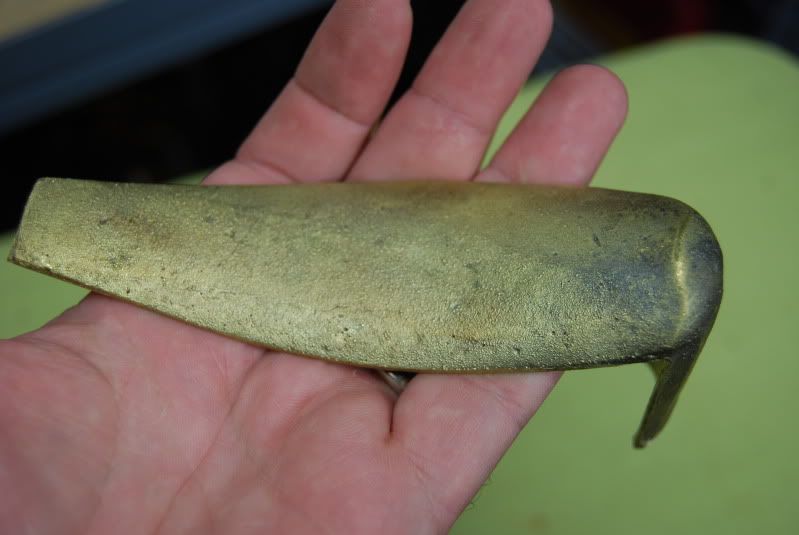
Another view of the Buttplate
I saw this and started digging around for the instructions quick! But there are none, this is a PARTS kit, not a DROP-IN KIT!! (what have I gotten myself into?)
This is the very nice Brass Patch Box comprised of three parts. This will be installed on the right hand side of the buttstock and will enclose a recessed box known as a patchbox for storing little bits and pieces needed in the field for reloading or repairs.
It is just a silhuette and looks nice as is, but really should have engraving done to it to make it perfect.
The Trigger Guard is Brass and is as cast, meaning it is ROUGH and nowhere near ready to be installed
A close look at trigger guard shows a lot of work needs to be done yet.
The Buttplate is solid brass and I will definitely be doing a lot of filing and sanding on this piece.
Another view of the Buttplate
Subscribe to:
Posts (Atom)
